There are a variety of factors that go into how well a cloth face mask will fit and work. This includes a person’s facial features, head shape, and the environment in which the mask is being worn, to name a few. As a result, the key to a quality face mask is one that is breathable and feels as if you are not even wearing one.
If you are looking to purchase a cloth face mask, there are plenty of options available to you all over the internet. However, today we are going to give you instructions for how to make a quality face mask at home. The most important items to consider when making your mask:
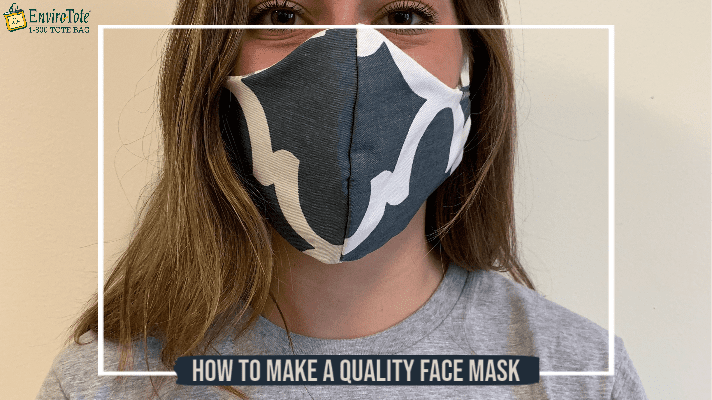
- Fits snugly and comfortably against the sides of your face
- Completely covers your nose and mouth area
- Includes multiple layers of a breathable, cotton fabric
- Can be machine washed and dried without damage
Sewn Face Masks
Materials Needed:
- 12” x 6” Main Fabric (cotton), previously washed
- 10” x 6” Lining Fabric (cotton), previously washed
- 16” Elastic Cord, or, 44”+ Shoe Lace, Ribbon or Cord (for ear loops)
- Needle and thread
- Sewing Machine
Instructions:
- Fold the main fabric in half with the wrong side facing each other, pin pattern onto the double-layered fabric.
- Note: Pattern includes ¼” allowance, with 1” seam allowance at the ear side.
- Trace sewing lines if needed.
Step 1: Turn the face mask main piece with the right side facing each other. Sew the center-line of the face mask.
Step 2: Clip curve along with the seam allowance, be careful and don’t accidentally clip on the stitches.
Step 3: Press seam allowance to one side, top-stitch near to the seam line on the side where the seam allowance is.
Repeat Step 1-3 to sew the lining. Note: The lining pattern is slightly smaller. Stitch the raw edge to prevent fraying.
Step 4: Flip the lining and place onto the main face mask (right sides together) and align the center seam line. Sew the top and bottom lines (keep sides open). Clip curve on the seam allowance where the two layers meet. Leave about ½” from the ends un-clipped.
Step 5: Turn the face mask right side out and press seam neatly. Double fold the top and bottom raw edges of the outer layer (both sides). top-stitch near the edge as shown in the picture. Repeat the same to the bottom seam line.
Step 6: To make the pocket for the elastic band, fold the side raw edge ¼” from the edge, then fold again so that the edge meets the edge of the inner layer. Top-stitch a vertical line to sew it on. The top and bottom have an opening for you to insert your elastic band.
Step 7: Measure and cut the length of the elastic band needed (usually around 6-8” depending upon the size of the face). Insert the elastic band through the pocket and tie a dead knot to the ends
Step 8: Repeat Step 7 on the other side. Pull the elastic band until the knots are hidden in the pocket.
A printable instruction guide with step by step pictures and cutout patterns is available here.
Stay healthy and safe!
– The Enviro-Tote Team
**The information provided above on how to make a quality face mask can also be found on the Southern New Hampshire Health website.
